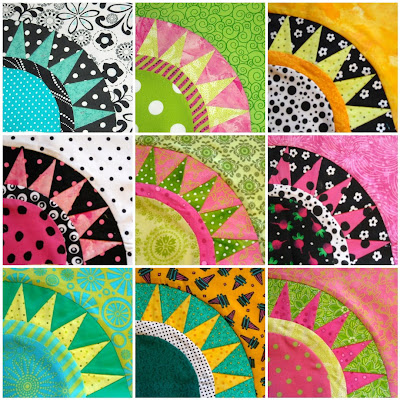
 I've always wondered how to make a photo mosaic. It looks hard! But I found BigHugeLabs.com! It is so much fun to play with your photos there that I almost feel the need to give you a warning! Okay, back to making a mosaic.
Click on the custom mosaics button that's on the home page. That takes you to the layout page. 1: Choose a layout. I chose "square tiles". 2: Choose the number of columns and rows you want. I chose 3 columns and 3 rows. 3: I didn't choose a backbround color or border color for this tutorial but you can play with that if you want. 4: The space between images I chose was 5 pixels. 5: I chose selecting the images individually. I have a Flickr page and I used the photos from that for this mosaic. 6: Then you click on the photo you want in your mosiac and copy and paste the url in the #1 spot. 7: When you have added your photos, click on the Create button. You will see your finished mosaic! Then click on the "Save" button and you can save your mosiac to your photos. Easy Peasy!
There are endless possibilities with this FREE program! I just wanted to show you the easiest way and then you can spread your creative wings and fly!

No comments:
Post a Comment